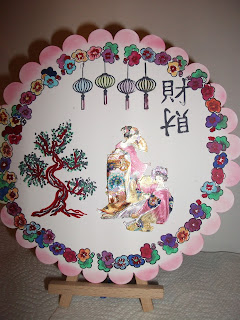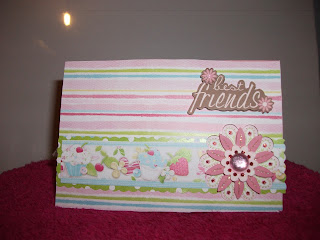
here are some of my new cards ive made
how i made this card..
fristly i ripped some background papers to make the ripped effect then using my sticky back tape placed them onto the card then i cutting a sclopped edge onto my glitter black card to make the bubble effect i placed my ribbon onto the black card when i done that i put my cupcake image on top of my ribbon.
fristly i made sure i had everythink to hand..
fristly i cut around my image and stuck the image onto 2 different types of background papers to make a layering efffect then by folding the egde over i placed my image over the egeg to get more dimention i used re-cycled backing paper on the frount ..
 i brought the set from the range i glued the feather on this image and placed 2 jewles to make it more style ish.
Appointment Scheduling Gadget
| smslån |
Online Users
(((somthing for you all to read)))
**hayleys top tips**
hayleys 5 top tips for using your ink
1. dab the ink around the edges of your card layers to give them extra difinition and texture.
2 .Try using your ink with a water brusg to colour your stamped images in.
3 .If you dont have many colours to mix your inks on a palette yo create new shades.
4. Use a sponge to lightly add ink around the edges of your stamped images ,choosing a colour that matches your projects..
5. Try ''stamping'' your ink pads diretly onto your paper,to make it an interesting background design.
((top 10 colouring tips))
1. Always stamp your images with a dye based ink..
2.Start with a few basic colours..
Three of your skin tone shade markers and three of your favorite colours is a good starting point.
3.Beginners should buy the lighest of shades because its much easer to change the shades makes the light colours easly darker,,
4.Always start to colour small areas frist,,like the faces ,hair,and then the selves one at a time,,
5.use three shaed of the same colour togeather to add depth..
6.Start colourig your image with the darkest of colours,then the mediium shade,then the lighest,while blending togeather with the lightest marker for the outline..
7.outline your images with a grey or beige marker?to make it stand out.
8.Then use your blender pen to erase any colours that have gone over the lines..
9.Always store your markers pens flat not upright..
10.Always use a blender pen to a achieve a faded out look on your images.


